
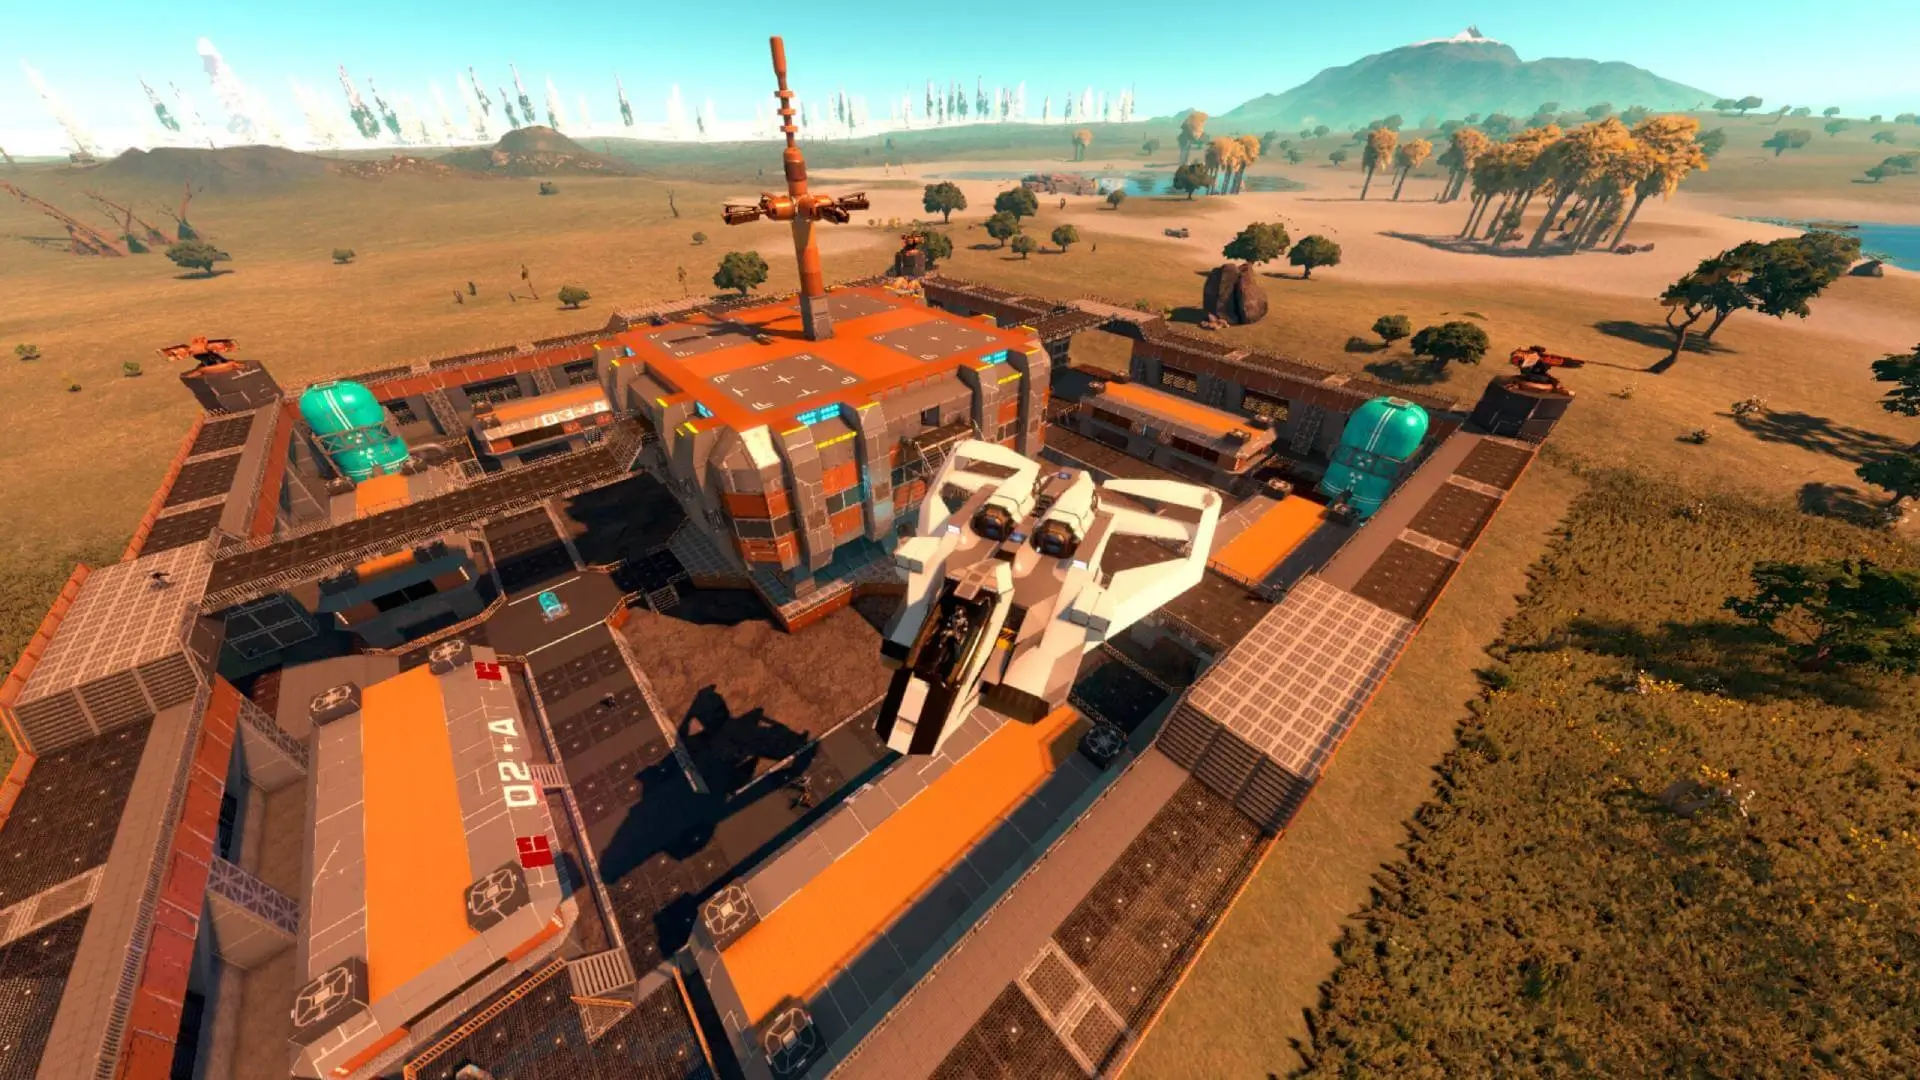
This guide will show you how to upload a custom scenario to your Empyrion Galactic Survival server. We'll be using Reforged Eden 2 as a popular custom scenario example.
Finding The Workshop ID
You will need the Workshop ID of the scenario you want to install. You can find scenarios on the Empyrion Steam Workshop.
Once you find the scenario you want, copy the URL. For example: https://steamcommunity.com/sharedfiles/filedetails/?id=3143225812
The Workshop ID is the number at the end of the URL. In this case, the Workshop ID for Reforged Eden 2 is 3143225812.
Downloading The Custom Scenario
- 1Subscribe to your desired scenario on the Steam Workshop.
- 2Launch Empyrion Galactic Survival to download the workshop content.
- 3On your PC, navigate to the Steam Workshop folder for Empyrion at
C:\Program Files (x86)\Steam\steamapps\workshop\content\383120\. Alternatively, you can right-click Empyrion in Steam, selectProperties > Browse Local Files, then go back tosteamapps/workshop/content/383120/. - 4Find the folder matching the Scenario's Workshop ID. For Reforged Eden 2, this is
3143225812.
Uploading The Scenario To Your Server
- 1Log in to Bropanel and select your server.
- 2Upload your custom scenario folder to
Content/Scenarios/and then rename it to something short, such aseden2. - 3In the sidebar, go to
Settings. - 4Under
Advanced, changeCustom Scenarioto the new name of your uploaded foldereden2. - 5Under
Advanced, changeSave Nameto generate a new save file. - 6Click
Save & Restartto apply your changes.
Note
You must change the value for Save Name when switching scenarios to generate a fresh save file, creating a new save avoids common incompatibility issues.