
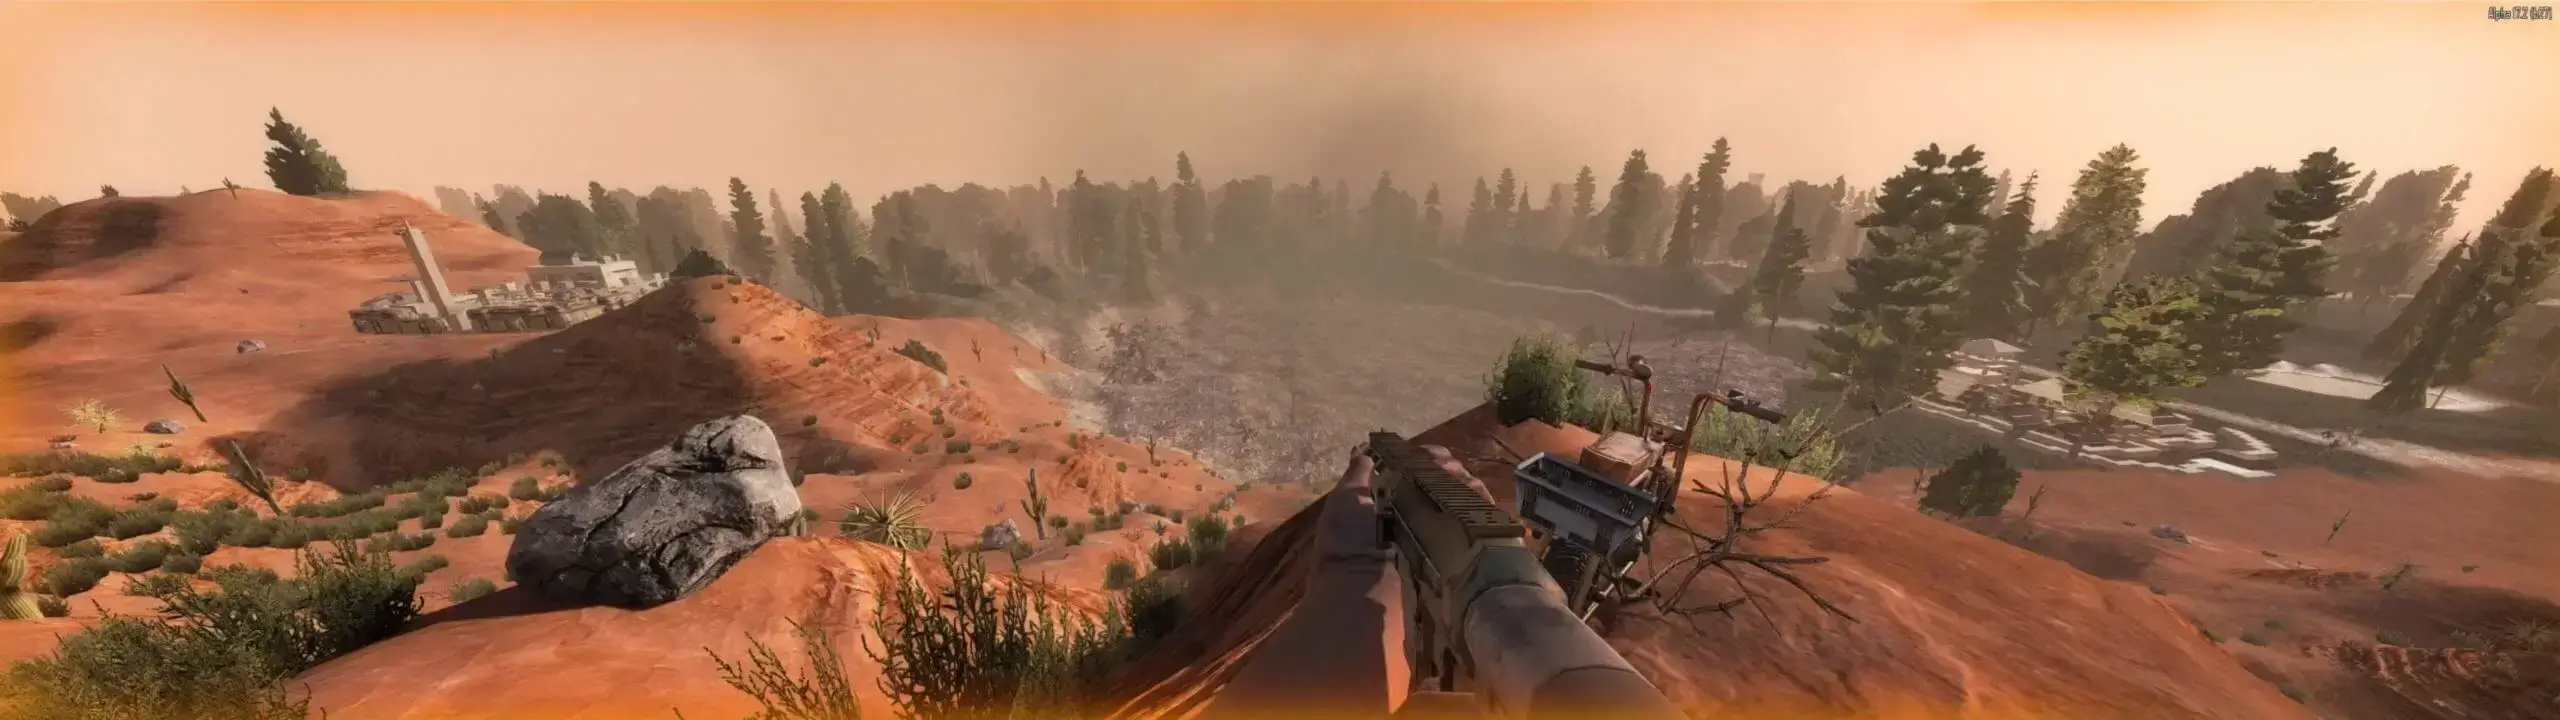
At Game Host Bros, we've integrated 7 Days to Die settings directly into our game panel, so you can effortlessly change settings such as zombie speed, max zombies, difficulty, server name, and more. Otherwise, 7 Days to Die settings are normally changed in the serverconfig.xml file.
Configuring Your 7 Days to Die Server
- 1Log in to Bropanel and select your 7 Days to Die server.
- 2In the sidebar, go to
Settings. - 3Edit the settings you'd like to change.
- 4Click
Save & Restartto apply your changes.
Importing Sandbox Codes (v3.0+)
Since the 3.0 update, 7 Days to Die bundles its more detailed difficulty and gameplay settings into a single Sandbox Code. You paste that code into your server to apply your custom gameplay settings. This is the only way to customize most gameplay settings for v3.0+ game versions.
Build a code without launching the game
Use our 7 Days to Die Sandbox Code Generator to build a Sandbox Code right in your browser. Pick a preset or tune any of the 150+ settings, copy the code, then paste it into the Sandbox Code field in Bropanel.
You can also generate the code in-game:
- 1Open 7 Days to Die and click
New Gameon the main menu. - 2Click
Sandbox Optionsand adjust the settings to your liking. - 3Click
Copy Code. - 4Log in to Bropanel and select your server.
- 5In the sidebar, go to
Settings. - 6Under
Basic, paste your code into theSandbox Codesetting. - 7Click
Save & Restartto apply your changes.